

How to use Publii to make a blog on Neocities without writing HTML
I love posting and blogging. I hate writing HTML. It's just one more layer of overhead that makes the process of writing even harder to get started on.
But, when running a site on Neocities, you're usually stuck with HTML. This is because you can't run something like Wordpress on Neocities due to the lack of PHP support - which is intentional and good and welcome.
However, for someone like me (who was raised by Xanga, then Wordpress.com, then Blogger), having to copy and paste a bunch of HTML for every new entry is...just not going to work. It just makes it so I never want to maintain the site.
As someone who values Neocities but hates HTML, what I need is some sort of static site generator (i.e. HTML and Javascript only) that has a WYSIWYG (What You See is What You Get) interface. There are a few of these for generating portfolios and the like, but the only one I was able to find specifically for blogging is Publii. And guess what? It rocks. It's what powers this blog!
The interface is great - minimal but functional. It supports drag-and-drop image uploads, which is important to me. And, it's free forever - they make their money by selling themes, which we're not going to buy. Well, unless you want to.
Below is a basic guide to getting Publii up and running on Neocities.
You will need...
Signing up for Neocities
This one is pretty simple: Go to neocities.org and create an account. Remember your site name and password for later. You don't have to be a supporter for this to work, but for me the $5/month is worth it.
(EDIT July 10 '23: You'll need a supporter account at $5/month, as it turns out. Thank you commenter for pointing that out, and sorry for the error!)
At this point you never have to look at this site again if you don't want to.
Setting up Publii
First of all, get it installed. There aren't any special options (as of the time of writing) so it should be straightforward.
Go ahead and launch Publii now - it should prompt you with something like this:
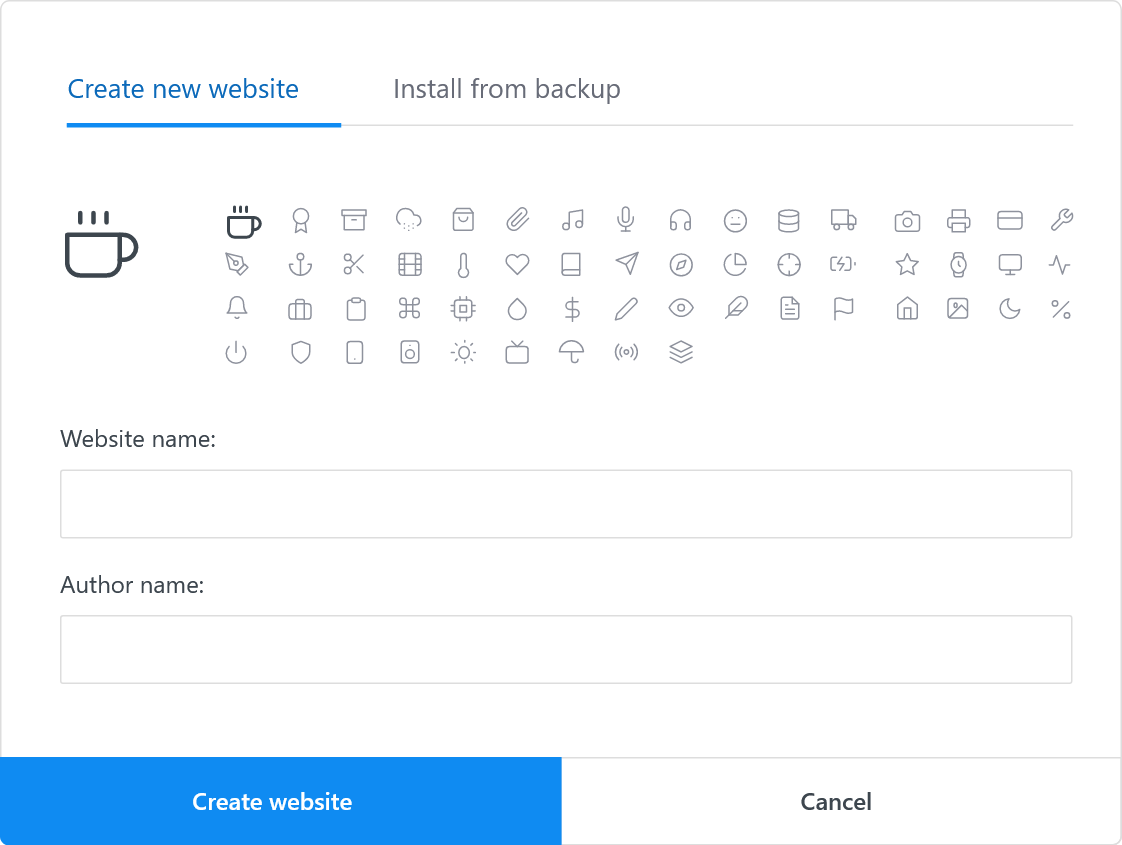
All of this can be changed later, and the icon is just for you. So go ahead and pick whatever you like.
Alright, now you have a new site. Let's go ahead and change a couple of settings as well. Click the "Server" option on the left, and choose the ".zip" option for Server Type. Type in the URL for where your blog will be, and change the output type to "Non-compressed catalog:
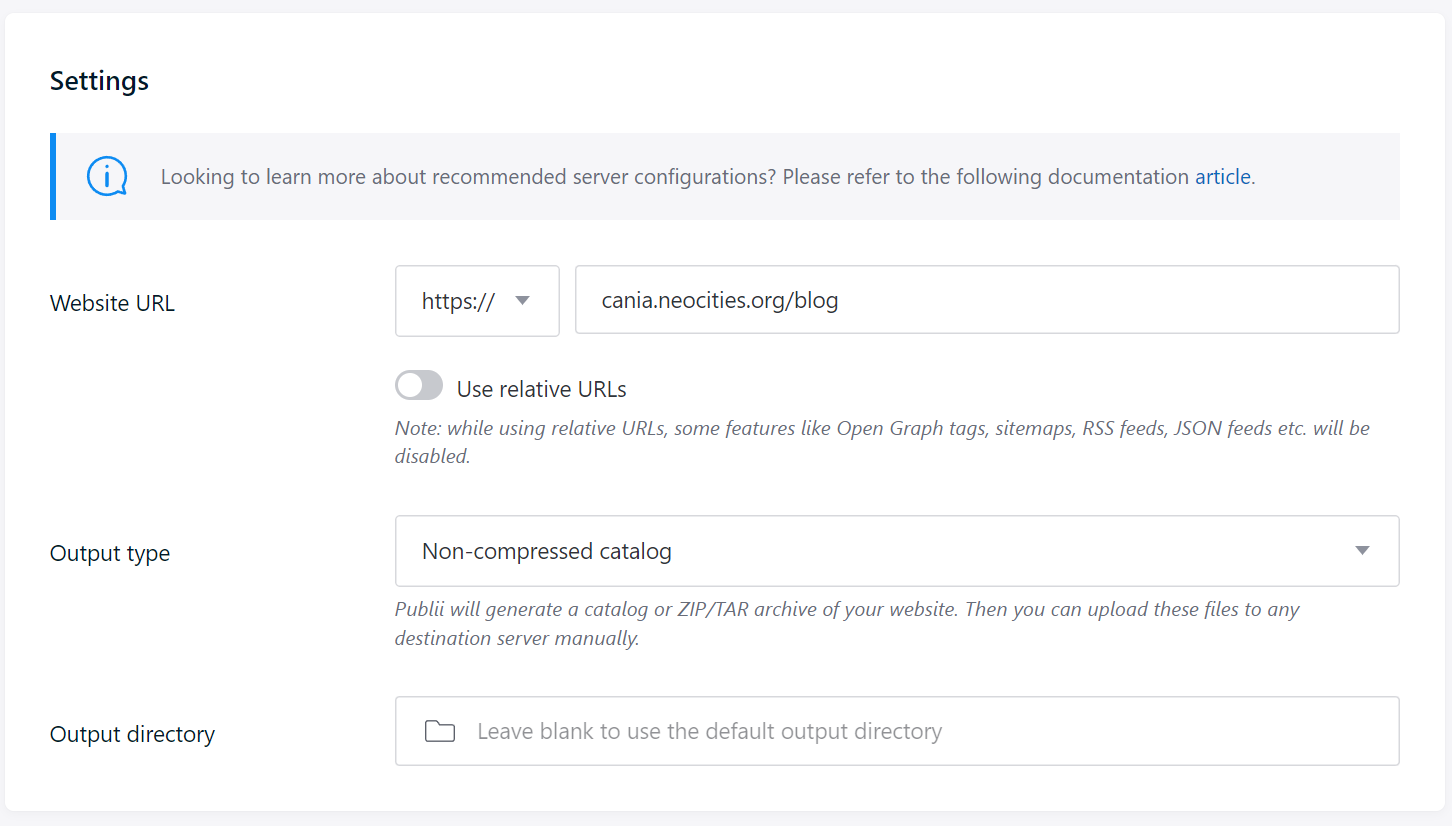
This means that Publii will output the static HTML version of your blog into a folder on your computer. We can use Cyberduck to upload that straight into Neocities and voila! The blog is updated.
A few other things you can do at this stage:
- Go to the Theme settings and change the basic options like:
- The blog title image
- The amount of blog posts per page
- The footer on every page
- Author names being displayed on
- Turn on the RSS/JSON feed - if you're not sure what that means, just turn it on. I'll write a guide later on how to use this to make an email newsletter folks can sign up to.
- Some (but not all!) of the colors for the theme. I'll show you how to change more in CSS at a later date.
- Write a post and save it
- I recommend using the WYSIWYG editor
- You should save at least a test post before we continue
- Poke around in the menu editor
- In the simple theme, the Main Menu will show at the top of every page. This is totally optional but you can use my menu as an example for what that's good for
- Preview the site - use the "Preview your changes" button in the lower left to do that
But those are all completely optional as of right now. This is the kind of stuff you'll be playing around with as you make your blog look the way you want it to.
Setting up Cyberduck
This might be the most daunting part on paper, but it's easy. I promise!
Once you've downloaded and installed Cyberduck, go ahead and launch it. Then click the "Open Connection" button in the upper right.
In the new window, select "WebDAV (HTTPS)" at the top. For the server, type neocities.org, and type port 443 if it's not already there.
For the username and password, use your site name and neocities password. When you're done, it should look like this:
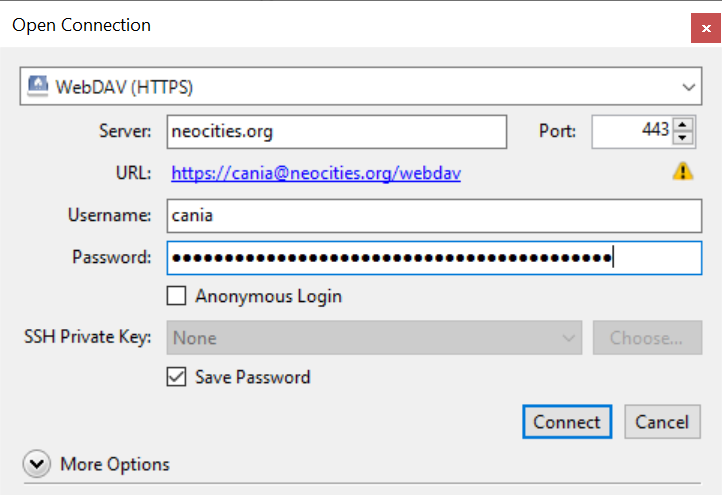
If it worked, you should now be connected to your site. This is almost exactly like file explorer in Windows - you can drag and drop files to and from your computer and site. It's super simple.
Exporting and uploading your site
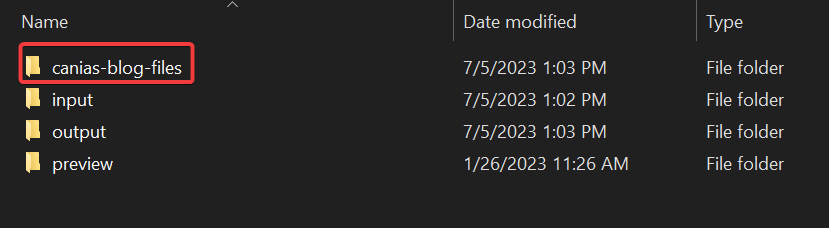
This is pretty damn easy. In Publii, click "Sync Your Website" in the lower left. This will export your whole site to a folder on your computer. Once this process is done, click "Get Website Files" to open an explorer window to this folder.
In this window, open up the folder ending in "-files". Here's what mine looks like:
Go back to Cyberduck and just...drag all those files over from the explorer window. You'll get a prompt to upload the files. The only thing you have to change here is the dropdown at the top. Make sure it says "Compare." This is important for the future, because instead of uploading and replacing every file, it will compare the files, and only upload new/changed files. This saves loads of time, believe me.
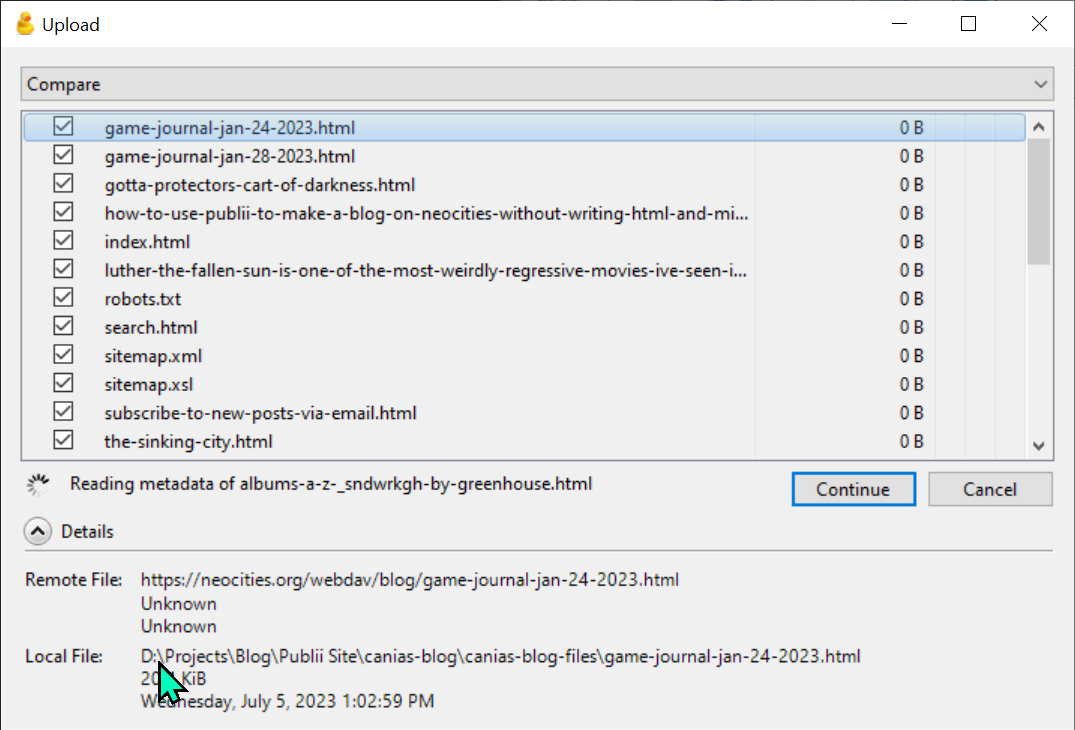
Then click "Continue" to start the upload. It might take a minute, but that's okay!
Once you're done, your site should be live! This is also the exact same process you'll do any time you update your blog, so get familiar with it and bookmark this page if you want to.
What now?
You have a blog now! You can update it with whatever you want at any time. The sky is the limit, baby.
And you're also fully independent at this point. You do not rely on any platform, not even Neocities - those files can be uploaded anywhere and they will work exactly the same.
In the future, I want to write smaller guides on how to do basic CSS modifications to the site, and how to set up a mailing list. But in the interest of finally finishing this post I'll just link to the tools I use:
- For the mailing list, I use BlogTrottr
- You'll need to have RSS on for this - the URL for your RSS feed is
http://your-site.neocities.org/feed.xml
- You'll need to have RSS on for this - the URL for your RSS feed is
- For customization outside of the basic theme options, you'll need to use theme overrides. This took me several hours to figure out but it was worth it. For reference, I override the following files for my theme:
- post.hbs (for modifying post layout)
- partials\top.hbs (for modifying the top menu/header)
- assets\css\main.css (for adding and changing the CSS of the theme)
Anyway, I hope this is helpful to you! If you have any problems, please leave a comment or contact me some other way - I'm always happy to help if I can!
Comments